How-To Edit NPC Names
Author: powbam
1. Navigate to GD’s root installation folder.
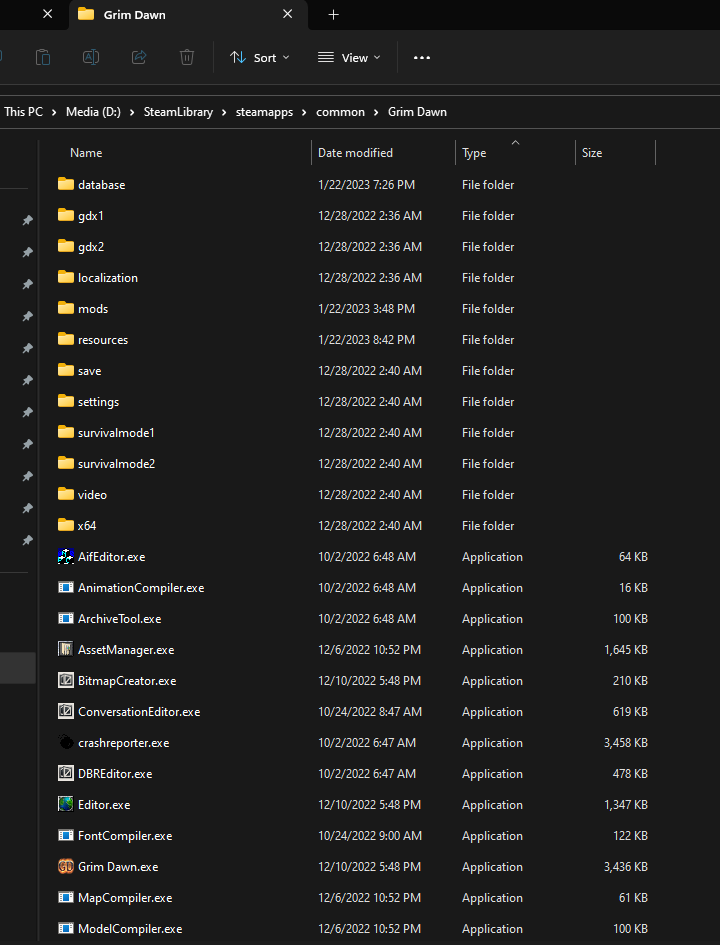
Mine’s on my D:\ drive but default path (for Steam) is:
C:\Program Files (x86)\Steam\steamapps\common\Grim Dawn
2. Scroll down and select/highlight ArchiveTool.exe
then find zlibwapi.dll , hold down the Ctrl key, and select it as well so that both are selected. Now hit Ctrl+C to copy them both into system memory.
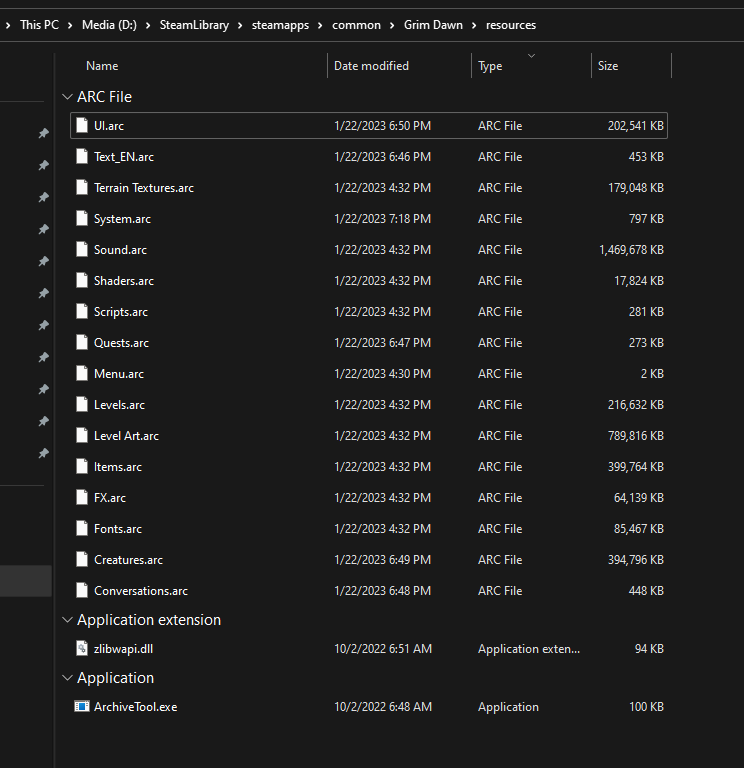
3. Enter the resources folder.
Press Ctrl+V to paste both files here.
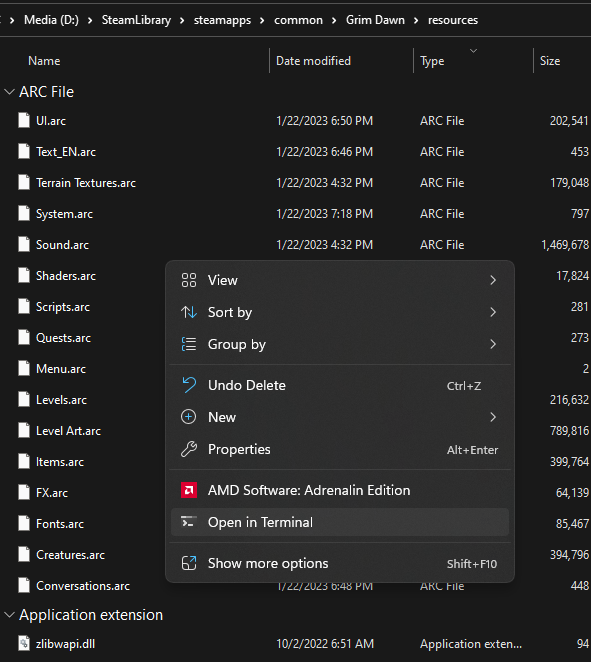
4. Right-click an empty spot in the folder and call up Powershell.
5. Extract Contents
From here we are going to tell ArchiveTool.exe to extract the contents of Text_EN.arc and Conversations.arc…

Just copy and paste the block of text below. Ensure that the paths are the same as yours.
.\ArchiveTool.exe "C:\Program Files (x86)\Steam\steamapps\common\Grim Dawn\resources\Text_EN.arc" -extract "C:\Program Files (x86)\Steam\steamapps\common\Grim Dawn\resources"; .\ArchiveTool.exe "C:\Program Files (x86)\Steam\steamapps\common\Grim Dawn\resources\Conversations.arc" -extract "C:\Program Files (x86)\Steam\steamapps\common\Grim Dawn\resources"
If everything is right Powershell should quickly spit out a bunch of text in sequence and you will have two new folders occupying the directory.
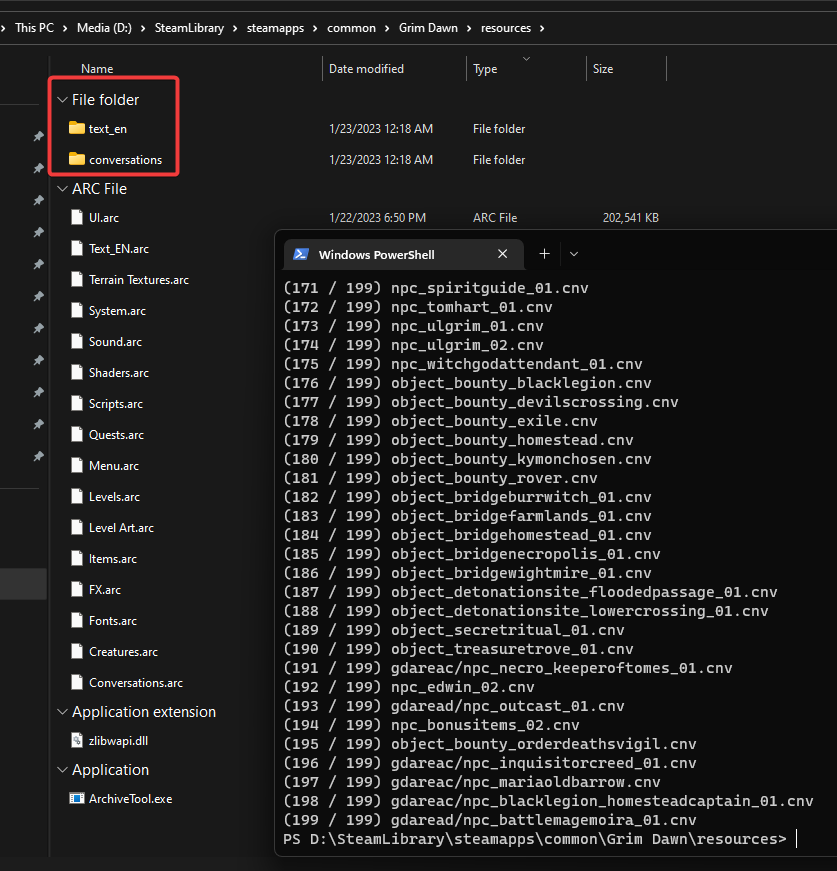
6. Now for the actual edits. First, enter the text_en folder…
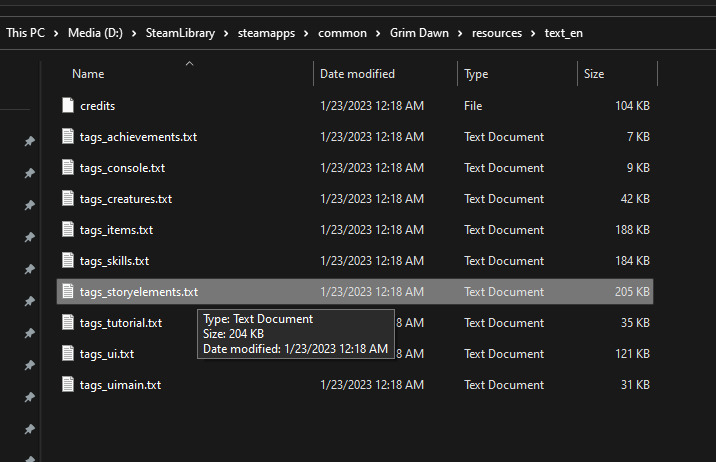
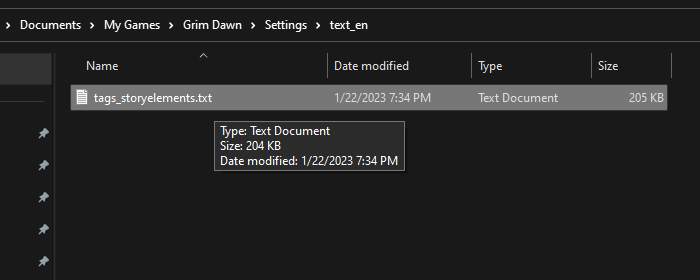
…and copy the tags_storyelements.txt file from here then navigate to Grim Dawn’s Settings folder in it’s local saving location:
C:\Users\YOUR_USERNAME\Documents\My Games\Grim Dawn\Settings
Create a new folder here and name it text_en and then paste your copied text file inside of it.
Open it up to edit it and scroll down a bit to the #NPC Names section.
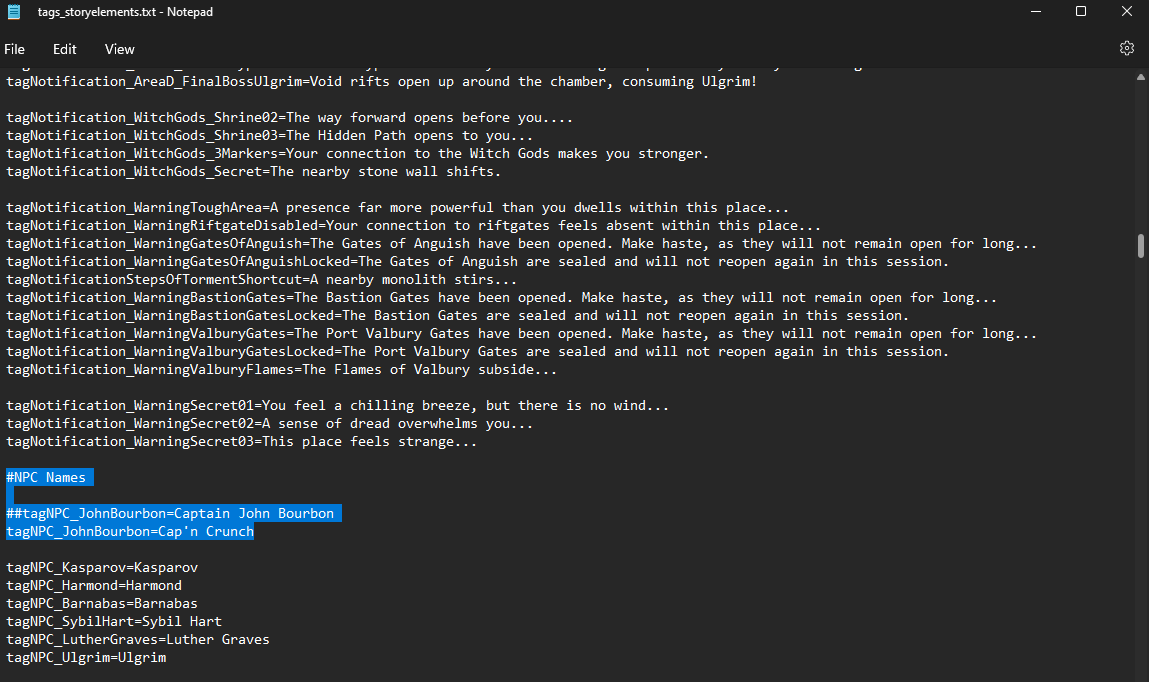
Comment out John Bourbon’s tag with a # sign but copy the text and paste it on the line below it. Lets call him Cap’n Crunch instead. Save the file and fire the game up and go talk to Cap’n Crunch.
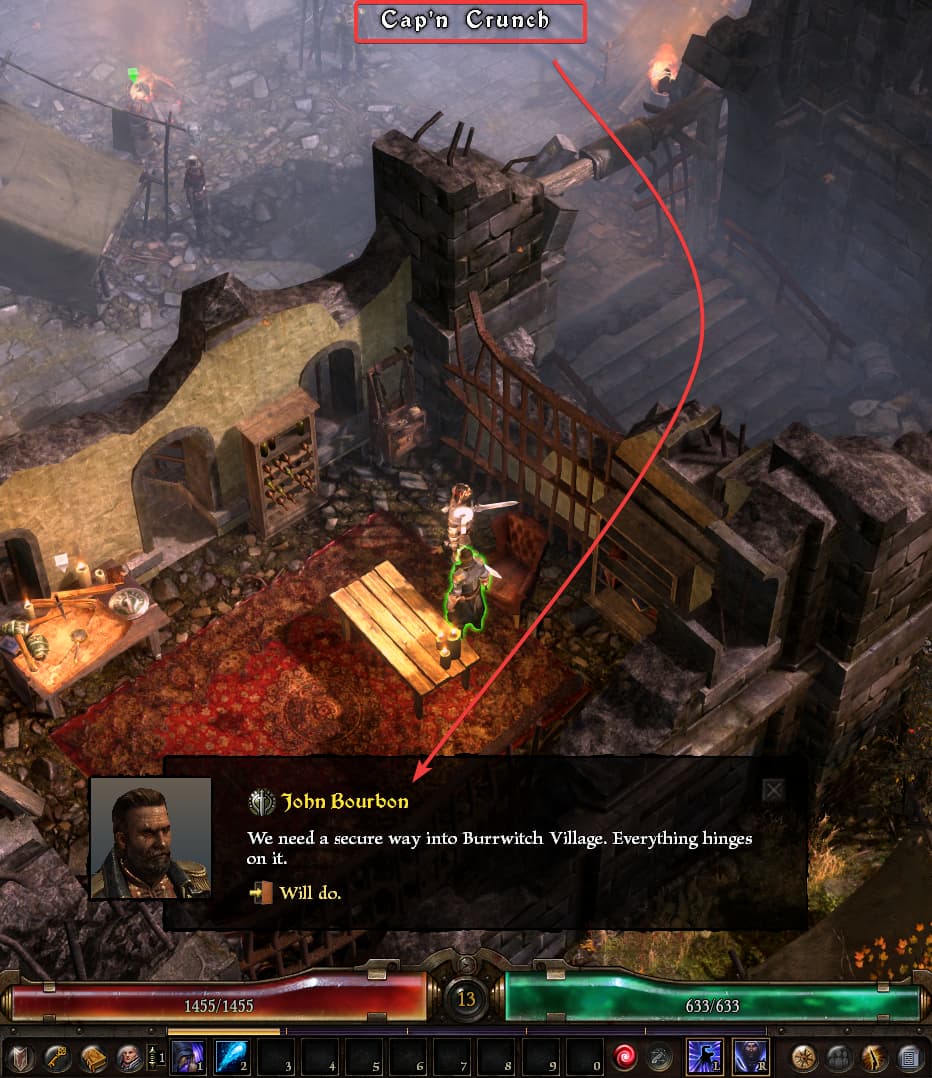
We managed to change his name that shows when you hover your mouse on him but his conversation window still retains the original name.
7. Go Back
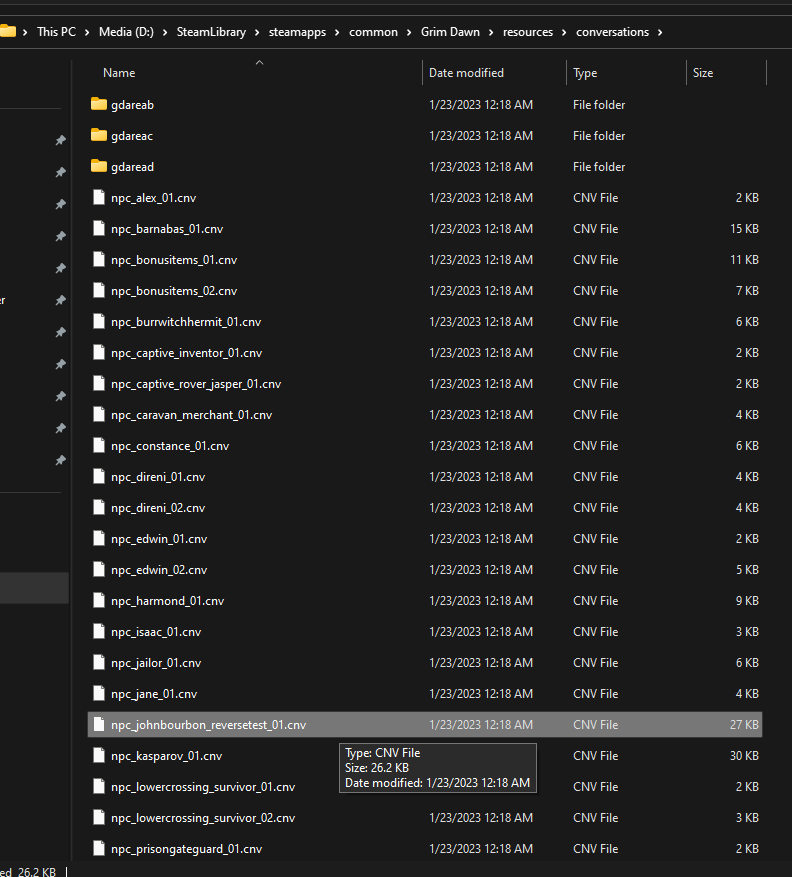
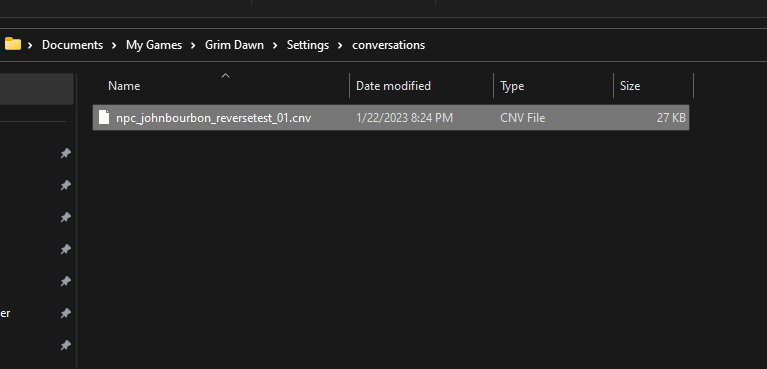
Which brings us to the last bit that needs to be done. Go back to where you extracted files at earlier and enter the conversations folder you extracted there. See the file named npc_johnbourbon_reversetest_01.cnv? That’s your next target…
…but first you need to go back two directories to GD’s root install directory…
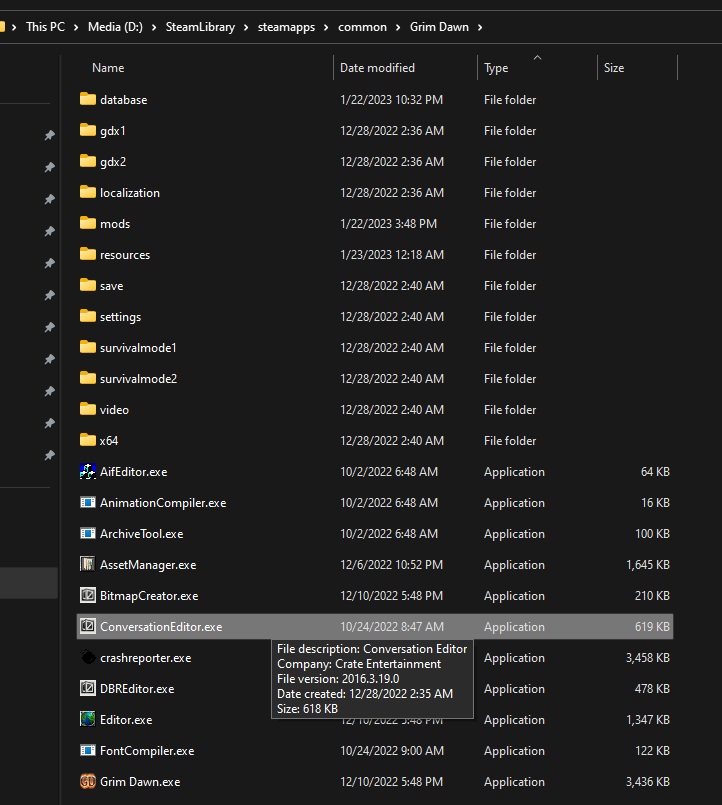
…and launch the ConversationEditor.exe located there. It will ask you for a Working Directory and a Build Directory on first launch. You can just give it the root install folder in both cases but for our purposes it really doesn’t matter.
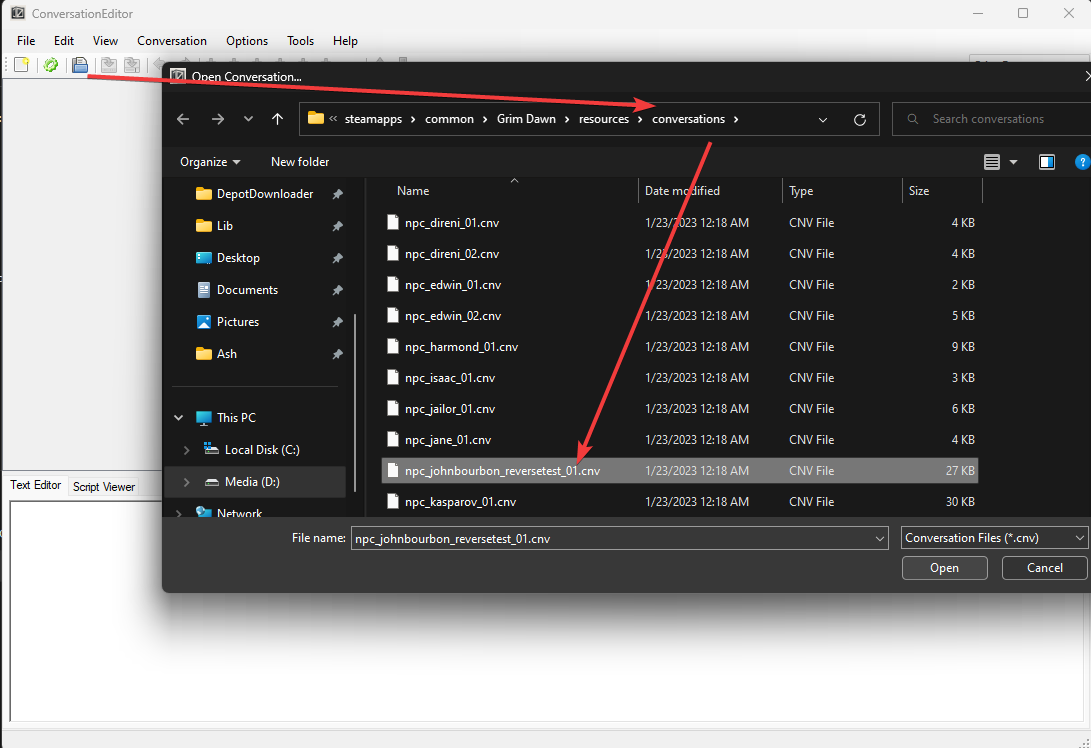
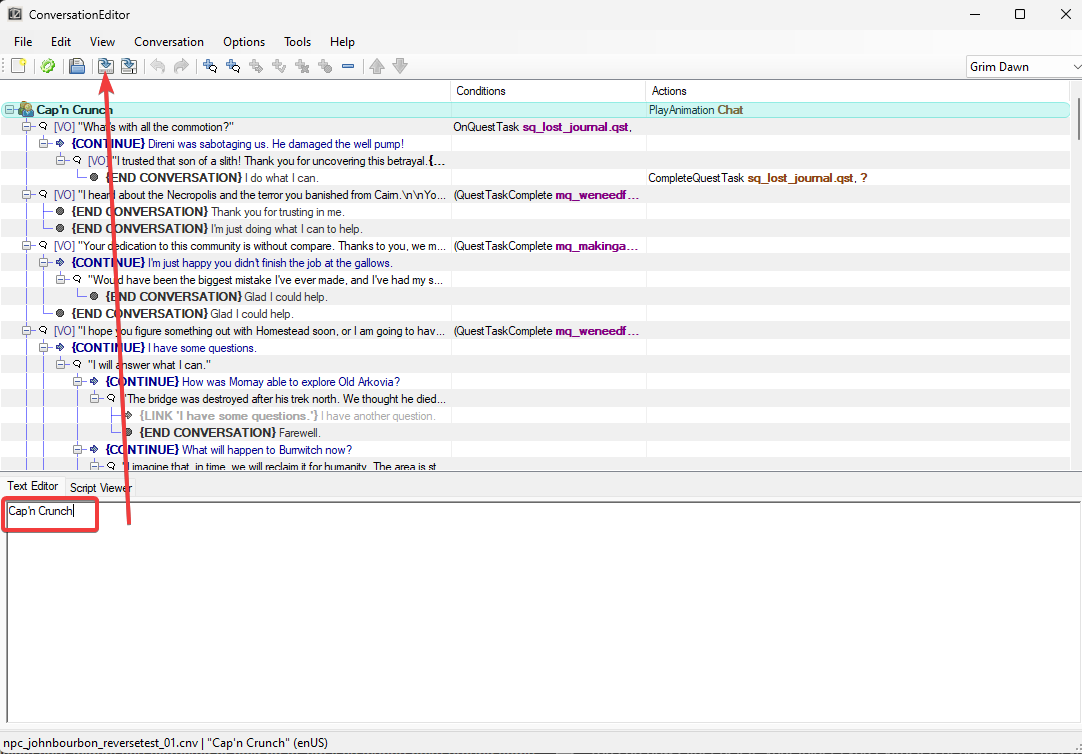
Click the little Open button and feed it the above mentioned npc_johnbourbon_reversetest_01.cnv file I mentioned just before.
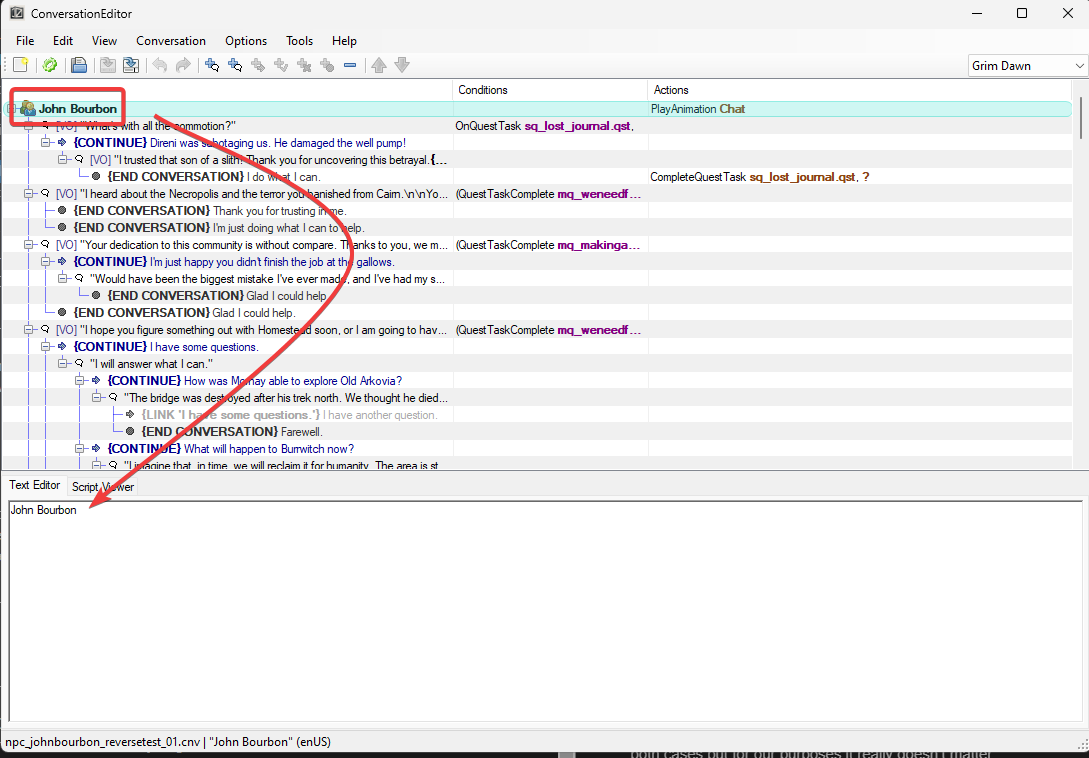
When it loads click and highlight where it says John Bourbon near the top so you can edit the name in the Text Editor down below it. Change that to Cap’n Crunch…
…then simply press the ‘Save’ button and close the ConversationEditor.
Now go copy your freshly edited npc_johnbourbon_reversetest_01.cnv file and head on back to GD’s Settings folder again and create another new folder in it and name it conversations and paste your file into it.
Fire up the game and head back to have a chat with Ye Olde Cap’n Crunch again.
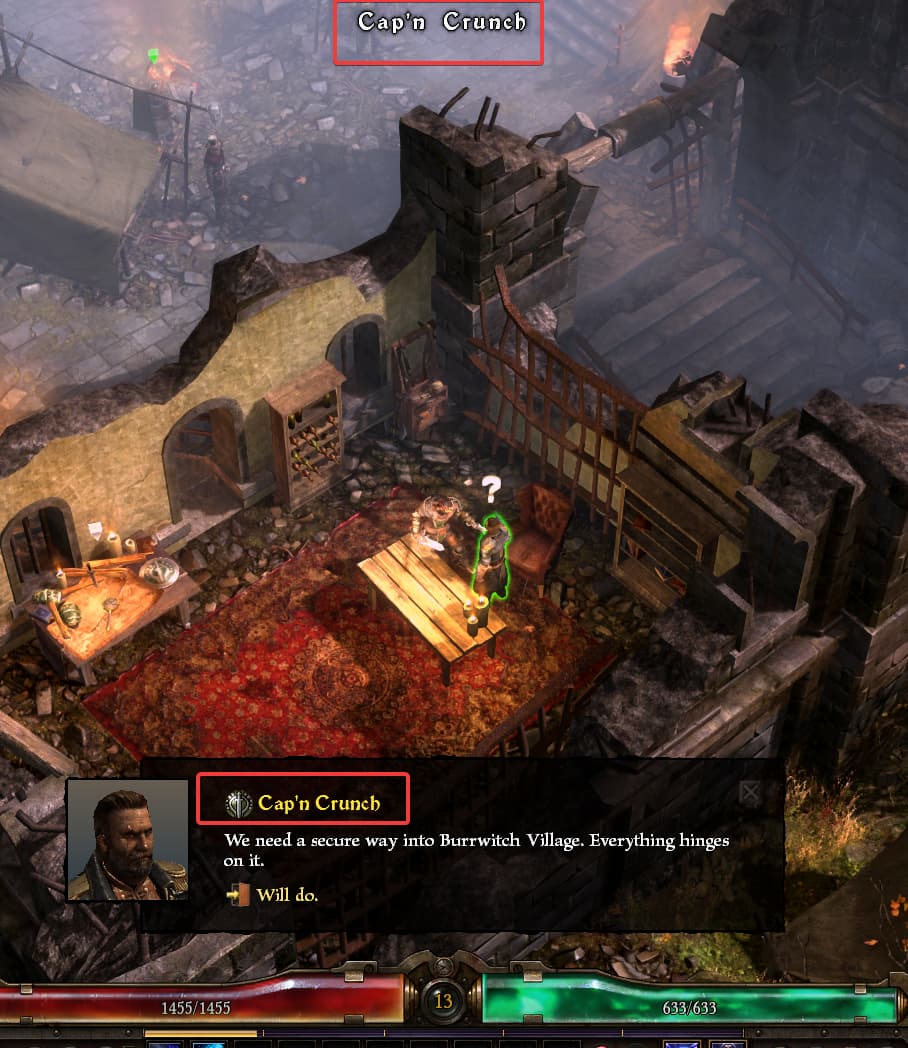
Wow. You did it champ.
You can now either delete your folders you extracted or hold on to 'em if ya wanna poke around some more. Keep in mind that NPC’s like Bourbon get their name tossed around in a number of other conversation (.cnv) files, so if ya wanna be technical with it you still might have a leeeetle bit more work to do. But now you’re on your way.